Intuitive Graph Editor
The quest system plugin comes with an intuitive graph editor similar to the materials editor and the audio editor to seemlessly integrate with the existing list of tools in Unreal Engine.
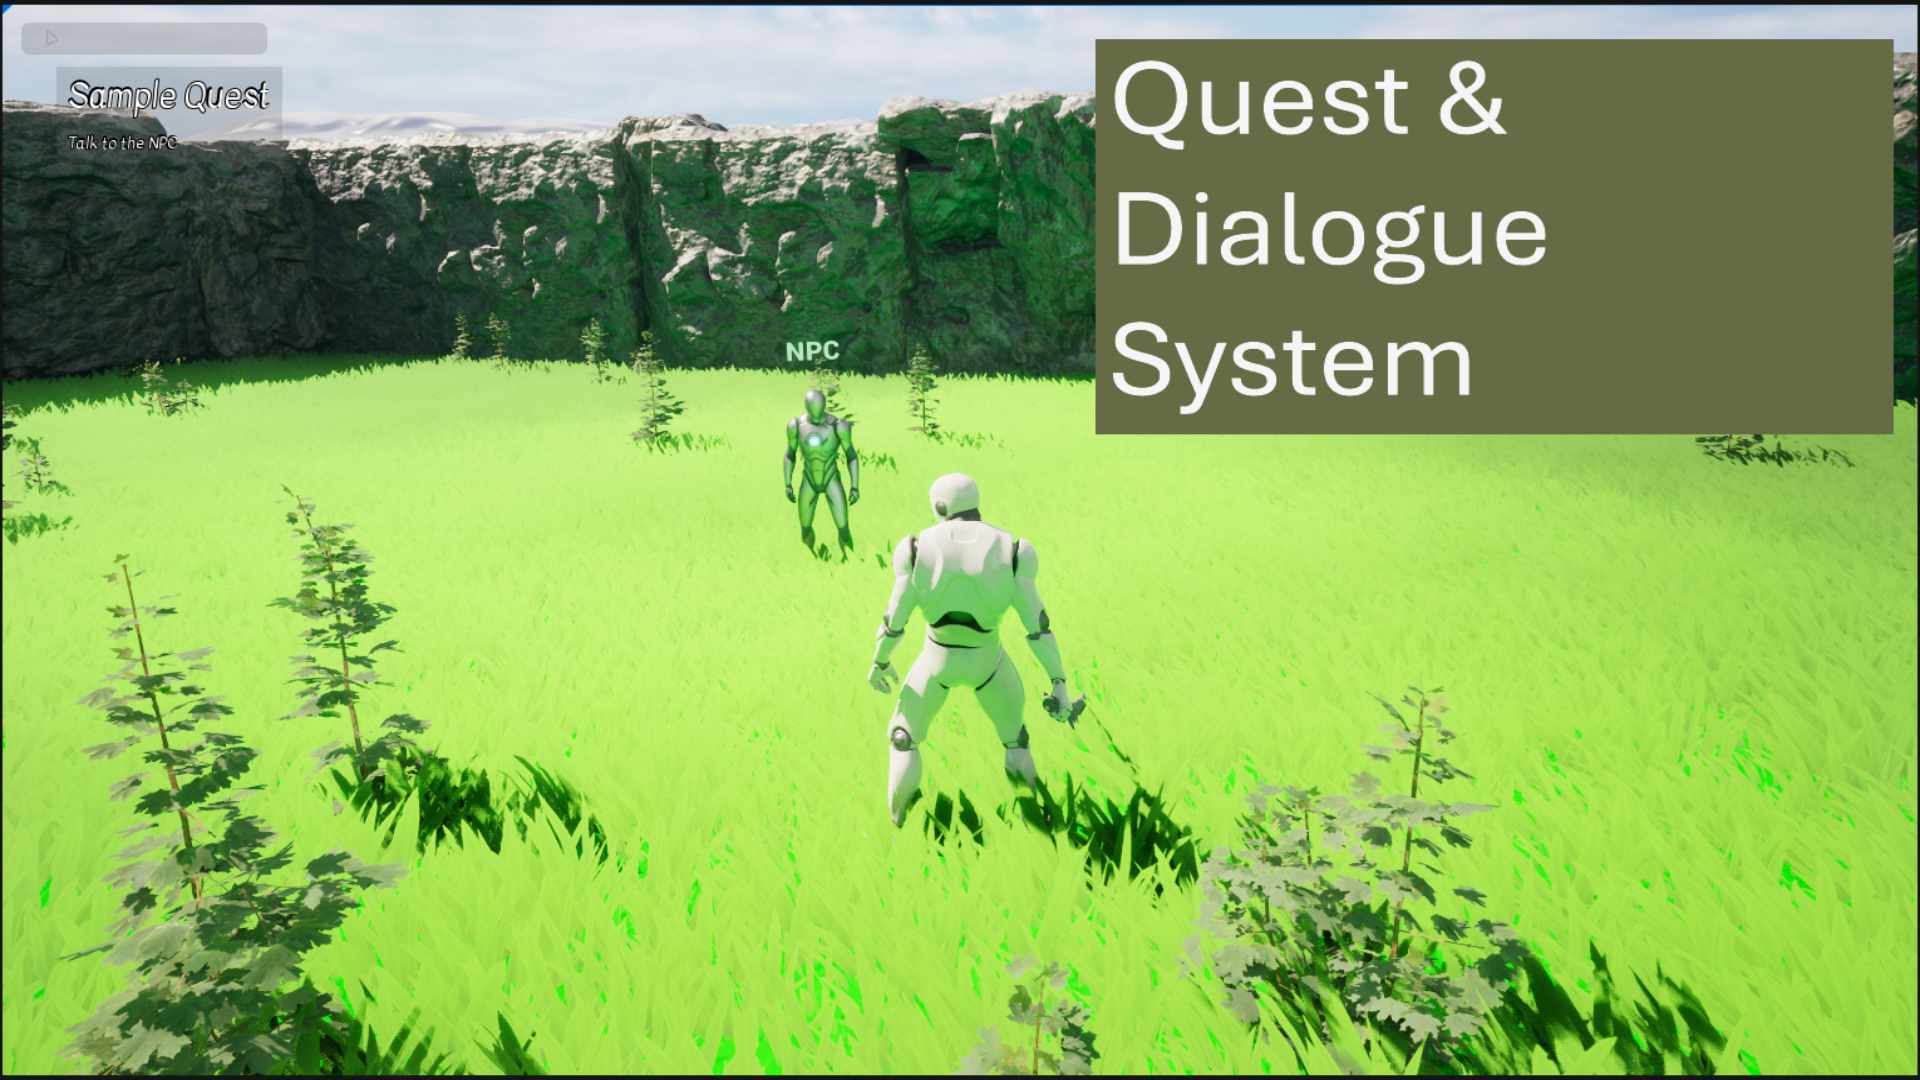
The quest system plugin provides tools and framework for managing quests and dialogues. It also provides custom editors to script quests and dialogues. It is designed to be easy and intuitive to use with minimal setup required to get up and running. It is also designed to be easy to extend to suit your project's specific needs.
The quest system plugin comes with an intuitive graph editor similar to the materials editor and the audio editor to seemlessly integrate with the existing list of tools in Unreal Engine.
Network Replication is supported out of the box. Just mark your quests as replicated and add the Quest Manager to your game state class for your quests to be replicated! Property replication works. Send Multicast RPCs from your action blocks on the server to the clients.
The default action blocks are not sufficient for your project? No worries. The system is extensible to allow you to create the blocks you need for your unique project. Use C++ or Blueprints to create custom actions for your quests and dialogues.
Once the plugin has been activated, do the following steps to setup the plugin for your project.
Dialogue Component: Add a Dialogue Component to your Player Controller class. This is required to play the dialogue for a player character and handles showing the dialogue to the player.
Dialogue Manager: Add a Dialogue Manager component to your Game State class. This is required for the dialogue to be played and handles creating and managing dialogue players.
Dialogue Player: If required, create a subclass of UDialoguePlayer and set that as the default dialogue player in the project settings. This handles playing the dialogue on the server.
Quest Manager: If your project is a networked multiplayer game, add the Quest Manager component to your game state class. This component will handle the replication of quests.
Quests assets are just templates for the quest. The Quest Subsystem duplicates quests at runtime and runs that copy when executing the quest. When a quest is duplicated by the quest subsystem and added to the managed list of quests, it is marked as Initialised, which just means it has been loaded and ready for activation. The Initialise function is called on the quest and all its actions which is a great place to prime the quest before it is activated.
An initialised quest needs to be activated for the quest to start. Quests marked as Auto Activate = true will be automatically activated by the quest subsystem when it is loaded and initialised. Other quests need to be manually activated by calling activate on the quests. Another way to activate quests is by using Triggers. Triggers are actions inside a quest that get activated as soon as a quest is initialised. Activating a trigger does not activate the quest itself. Instead, when a trigger's requirements are satisfied, it will activate the quest.
An active quest can be deactivated. A deactivated quest is dormant until reactivated. When reactivated, the quest will resume from the point where it was deactivated.
The last state a quest can be in is Ended. A quest can be marked as ended when it is completed, failed, etc. A quest that has ended cannot be reactivated.
Quest replication is handled by the Quest Manager. This is a component that should be added to the Game State class.
A typical quest lifecycle is as follows:
LoadQuests is called on the Quest Subsystem with the diretory in which the quest assets are stored as the parameter.
The quests will be duplicated, initialised (which activated any triggers) and, if quest is marked to AutoActivate, activates the quest. If a Quest Manager is present, quests will be replicated to clients.
When an active quest ends, it is marked as ended. It is still held in memory but should not perform any tasks.